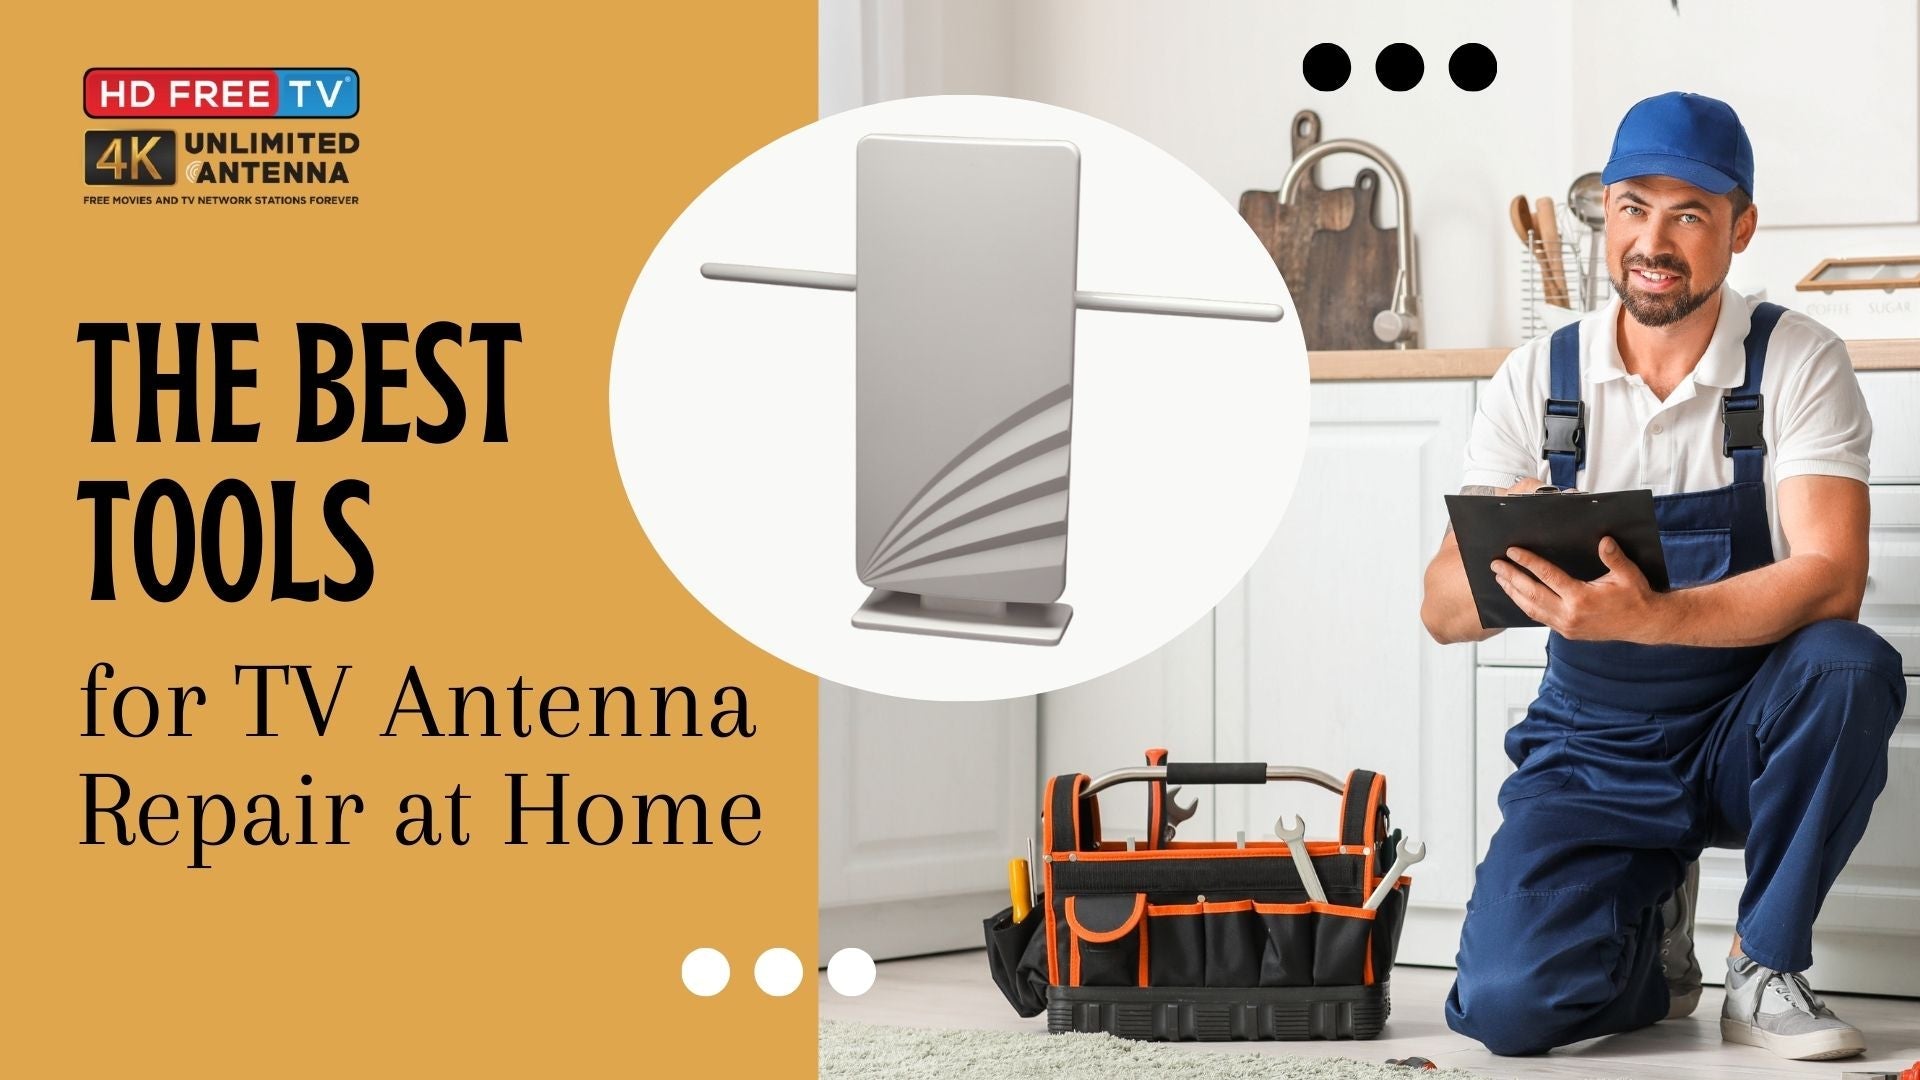
Television antennas are essential to getting crisp, high-definition channels, but like any other piece of equipment, they can encounter wear and tear. To keep your antenna performing at its best, it might need a little extra attention and care. Whether it’s a minor adjustment or a more hands-on fix, having the right tools can make all the difference. Let’s explore the tools and techniques you need to fix a TV antenna effectively.
Must-Have Tools for TV Antenna Repair
Following are the essential tools for TV antenna repair at home.
1. Screwdrivers
Screwdrivers are a requirement for television antenna repair. Flathead and Phillips screwdrivers help you tighten screws, adjust panels, and secure mounting brackets. Opt for magnetic-tipped ones to easily handle small screws without dropping them.
2. Pliers
Pliers are indispensable for tightening bolts, bending wires, and ensuring a firm grip on delicate components. Needle-nose pliers are especially helpful for accessing tight spots and adjusting connectors.
3. Adjustable Wrench
When it comes to securing nuts and bolts, an adjustable wrench is your go-to tool. This is particularly important for rooftop antennas, which can loosen over time due to wind or vibrations.
4. Coaxial Cable Stripper
A coaxial cable stripper allows you to make clean cuts when stripping cables, ensuring proper connector attachment. It’s a must-have for maintaining strong signal transmission.
5. Cable Tester
Diagnosing cable issues is simple with a cable tester. This tool helps you identify faults or interruptions in your coaxial cables, saving you time and frustration.
6. Signal Meter
For optimal antenna alignment, a signal meter is invaluable. It measures signal strength and guides you to the perfect positioning for crystal-clear reception.
7. Ladder
For outdoor or rooftop antennas, a stable ladder is non-negotiable. Ensure it’s tall enough to reach your antenna and provide a secure base for your safety.
Safety Equipment You Shouldn’t Skip
Most TV antenna repair works imply certain risks such as working at heights, while on a ladder or dealing with electrical parts. To enhance safety, always make sure you have the appropriate safety gear. Gloves must be worn as a means of protecting your hands against sharp edges or electrical shocks.
Gloves shield your hands in case you have to make repairs on electrical or mechanical equipment, which could include accidental wire snaps, or sudden failure of a mechanical part.
A harness is very useful when you are up on the roof. Other protection includes appropriate footwear with good non-slip soles to enhance grip when stair climbing, or handling other unfamiliar terrains. By being well-prepared, you can ensure that your repairs are carried out effectively.
Advanced Tools for a Professional Touch
Below are the advanced tools to fix TV antennas.
Antenna Preamplifier:
A preamplifier amplifies weak signals, ensuring that even distant channels come through with minimal interference.
Antenna Rotator:
This tool enables you to fine-tune your antenna's direction for capturing signals from multiple sources without constant manual adjustment.
Soldering Kit:
A soldering kit is ideal for repairing damaged connectors, securing loose wires, and creating durable connections.
Maintenance Supplies to Keep on Hand
Stock up on these essential supplies for regular upkeep:
-
High-Quality Coaxial Cable: This reduces signal interference and ensures reliable transmission.
-
Grounding Equipment: Protect your setup from electrical surges and lightning strikes.
-
Weatherproofing Materials: Use sealant and weather-resistant tape to guard outdoor components against rain and heat.
Step by Step Guide to Fix a TV Antenna
Following are the steps you should follow to fix the TV antenna.
1. Inspect the Antenna:
To start with, it is advisable to make a general check or survey of your antenna. First, search for any primary indications of any harm to the tower, this may include twisted, or broken parts, loose screws or logical cables. Often, the weather conditions cause minimal vibrations or breakages of some part of the antenna that will affect the signal quality.
If you find dust or any mud like material on the outer side of the antenna, then clean it gently because dust also hinders the signals. Make sure the antenna is well installed and has not moved from the initial position it was placed in.
2. Test Signal Strength:
Before learning the severity of the problem, assess the current signal meter of the reception quality. This tool is used to test the strength of your signal from your antenna.Signal meters are particularly useful in maximizing the antenna’s orientation particularly when focusing on distant broadcast towers.
3. Diagnose Cable Issues:
The next technique is for coaxial cable to look for possible problems or defects. To check for breaks, weak areas or section disruptions, use a cable tester. Cables that have been worn out or not well connected to the relevant elements are usually blamed for low signal strength.
If you come across any problems, the best action is to replace the cable or re-connect them properly.
4. Adjust and Secure Components:
After this step, you may start making some changes to the antenna and cables. Check any screws that may be loose, and sort out any elements that are bent to provide the right shape to the antenna.
All the components should be fixed tightly using tools that include the screw driver, pliers and wrench. The third requirement is placing of the antennas to receive the best signal in its direction. If your antenna has movable parts then they should be well secured to avoid any form of limitation during windy moments.
5. Enhance the Setup:
If your reception is still subpar, consider enhancing the setup with additional tools. Installing a preamplifier can boost weak signals, particularly if you’re located far from broadcast towers.
For more precise adjustments, use an antenna rotator to reposition the antenna and target specific signal sources. These enhancements can make a significant difference in areas where reception is typically challenging.
6. Test Your Results:
After completing the adjustments, it’s time to check your results. Turn on your television and scan for channels to see if the picture quality has improved. If the reception is still not clear, revisit the previous steps and make further refinements.
Repeat this process until you achieve the best possible signal and a clear viewing experience. Patience and careful adjustments are key to ensuring your efforts pay off.
Ready to elevate your TV antenna setup? Explore Unlimited Antenna!

Conclusion
By equipping yourself with the right tools and taking necessary precautions, you can fix a TV antenna with ease and confidence. Regular maintenance ensures uninterrupted entertainment and extends the life of your antenna. So, don’t wait for a complete signal breakdown, start giving your television antenna the care it deserves today!

